Where to Build Your Arena
Building an equestrian arena is a significant investment, so choosing the right location is crucial. Several factors should be considered before breaking ground. You’ll want to ensure the area is safe, accessible, and properly drained. In this guide, we'll explore the essential aspects of planning and constructing your riding arena, including some basic construction tips.
Ensuring There is a Good Entrance to the Site
Access to the site is critical for both delivery and construction. If your chosen location lacks proper access, suppliers might charge additional fees for offloading goods further away. Additionally, large machinery like diggers and lorries may not fit, forcing workers to use smaller vehicles, increasing time and costs. Therefore, it’s wise to select a site with enough space for easy access for all types of vehicles.
Alternatively, if you're constrained by limited access, consider reaching out to a nearby farmer. They might agree to store materials temporarily on their land at a reduced rate compared to traditional haulage fees. Farmers typically have the necessary equipment to move materials closer to your intended location, making it a practical solution.
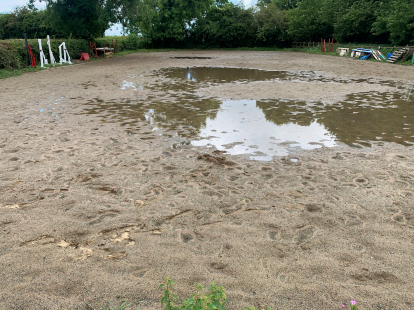
Choosing the Correct Place for Drainage
Drainage is vital for maintaining a safe and functional arena. Before finalizing your location, determine where the water will flow from your drainage system. Common methods include soakaways or ditches, but local regulations vary, so always consult your local authority to stay compliant.
Getting the Correct Levels
Excavation should be kept to a minimum to save costs. Uneven terrain will require more extensive digging, which can increase expenses and generate significant waste. On sloped sites, the "cut and fill" method is often used, where soil is moved from higher areas to level out lower ones. While this helps balance the terrain, it can be costly.
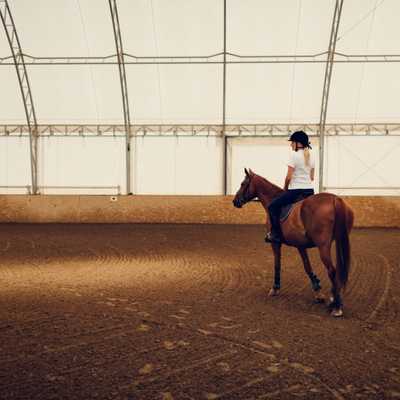
What to Do About Exposing My Arena to the Elements?
Horse arenas can be vulnerable to wind erosion, especially if silica sand is used as the top layer. To mitigate this risk, consider building indoors or positioning your arena near hedgerows or trees to act as natural windbreaks.
How to Correctly Mark Out Your Area and Excavate the Land for Your Horse Menage Construction
Once you've selected a suitable site, begin by marking out the perimeter slightly larger than your intended arena size. Leave at least a meter of space around the edges for working room. For instance, if your arena is 100m x 80m, you might mark out a 102m x 82m area to ensure enough room for precision excavation.
Start by placing wooden posts at each corner and use string lines to outline the digging area. Spray paint the ground to guide the digger operator. To confirm the layout is accurate, measure the diagonals—they should be equal if your marking is correct.
Begin excavation by removing the topsoil to expose the subsoil. Topsoil must be carefully removed and either stored or disposed of responsibly. If possible, reuse it elsewhere or even sell it to recover some costs. Keep the soil in good condition to simplify landscaping later.
What Drainage Method Do I Use for My Project?
After excavation, focus on the drainage system. Poor drainage can ruin even the highest-quality arena surfaces. The "Herringbone Drainage System" is recommended, featuring a 100-150mm central pipe connected to 75-100mm perforated pipes running at 45-degree angles toward the center. These pipes should be spaced five meters apart, with the central pipe discharging into a soakaway or ditch. Ensure the depth aligns with the discharge point, and trenches should remain relatively shallow.
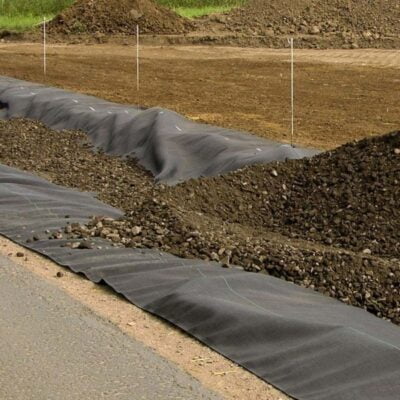
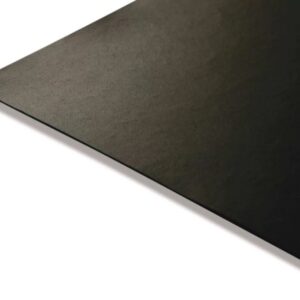
Using Woven Membrane for Equestrian Riding Arenas
Next, lay the woven geotextile membrane across the entire area. This membrane stabilizes the surface, preventing mixing of materials with the soil below. Proper installation ensures that all areas with perforated pipework are fully covered to maximize system performance. For guidance on selecting the right membrane, visit our blog: "Horse Arena Membranes—Which One Should I Use?"
Once the woven membrane is in place, install the perforated drainage pipes into their channels and backfill with 20mm pea shingle to the original excavation level. Pea shingle should be clean to avoid clogging.
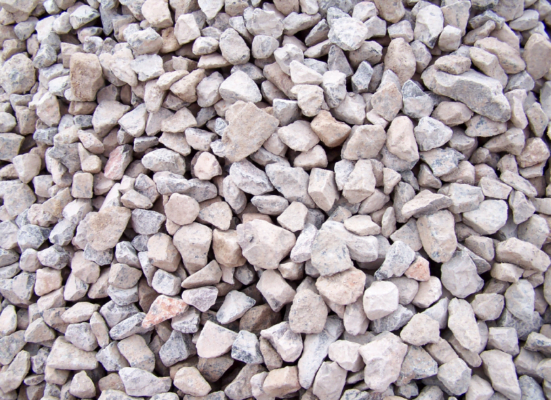
Sub Base and Fencing for Riding Arenas
Once leveled, focus on installing the sub base, ideally six inches deep. Crushed limestone is often the best option due to its purity, but availability and cost will influence your decision. Ensure the sub base material is between 75-40mm in size to optimize drainage. Use a laser level and excavator with a roller to compact it properly.
Fencing should consist of a sturdy three-bar post and rail system. Attach the bars to the inside of the posts to protect riders and horses. Use a post knocker to drive the posts deep enough to reach subsoil and add gravel boards to shield posts from moisture and debris.
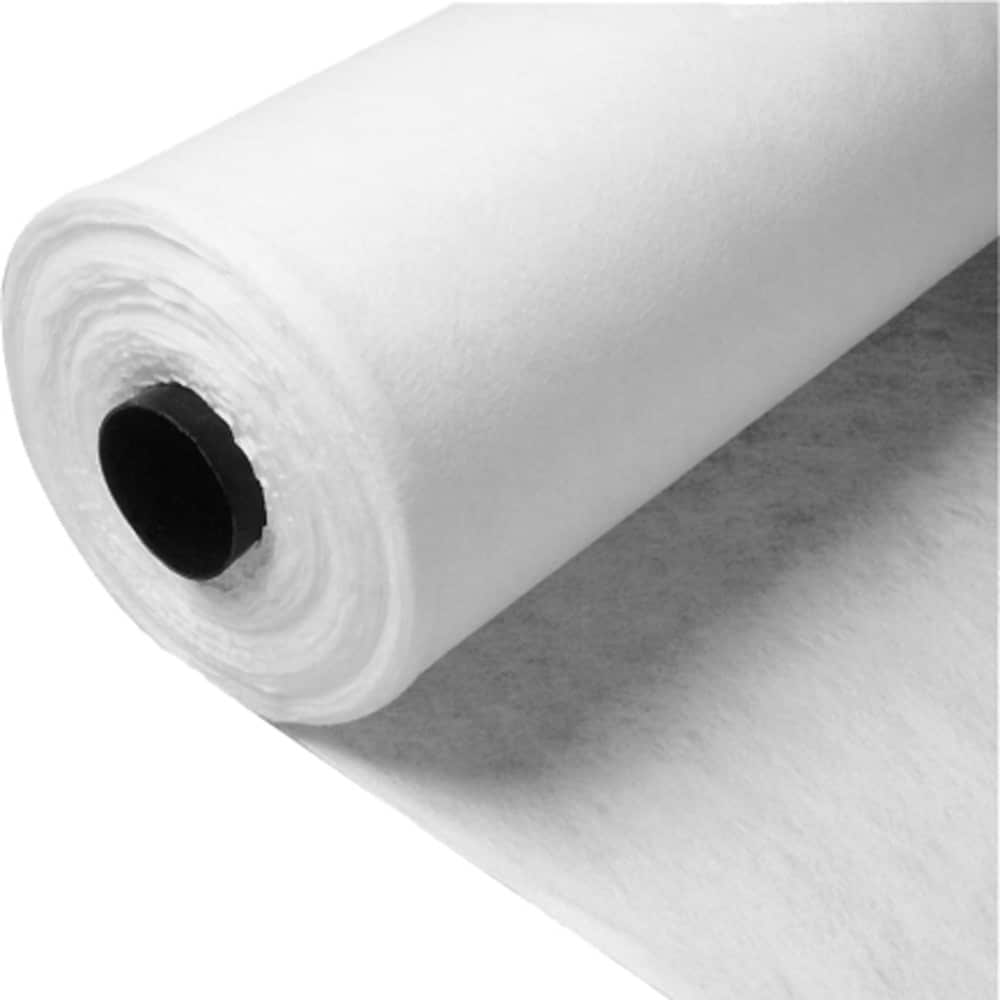
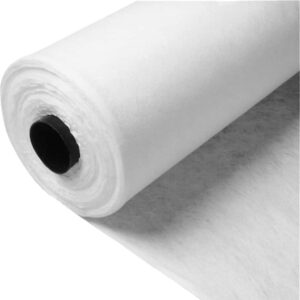
Using Non-Woven Membrane for Equestrian Riding Arenas
For the upper membrane layer, use a non-woven geotextile membrane weighing at least 300GSM. Incorrect installation or a lower weight can lead to damage and loss of silica sand. Secure the membrane to gravel boards and seal all joints to prevent sand from seeping through and causing issues. Refer to our blog, "Horse Arena Membranes Which One Should I Be Using?" for more details.
Non-woven membranes allow water to drain through to the underlying drainage system, unlike woven membranes, which may cause pooling. They also separate aggregates, keeping the sand from mixing with the sub-layer below, stabilizing the ground.
What to Use for Your Surface Layer?
Silica sand is commonly used for the top layer, occasionally mixed with rubber chippings. The choice depends on your budget after completing the main structure. The sand layer should be at least four inches deep, and vehicles must avoid driving over the geotextile membrane during placement to prevent damage. A designated pathway can be created to facilitate vehicle access for pouring the sand. Use a laser level and roller to ensure the surface is flat.
Finally, add two inches of rubber chippings on top of the sand (if desired). With that, your equestrian arena construction is complete, and you can enjoy countless hours of riding ahead.
If anything remains unclear, feel free to contact us via email or phone—we’re happy to assist!
Shop Horse Arena Membranes:
Terram Rootguard Root Barrier
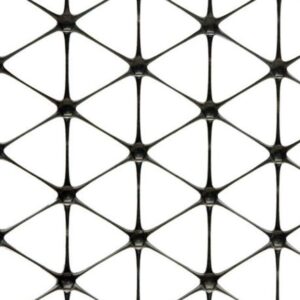
Tensar Geogrid TriAx
Terram Advantage 80 GSM Geo Textile Membrane – 4.5m x 100m
Steel Precision Turned Parts,Stainless Steel Cnc Turning Parts,Cnc Precision Turning Components,Precision Cnc Turning Parts
Stand Dragon Industrial Co., Ltd. , https://www.standdragontw.com